Some of these repairs are not cosmetically perfect, but they were able to take an expensive elite level bicycle racing part, destined for the trash, and make it functional again. To me that is pretty cool.
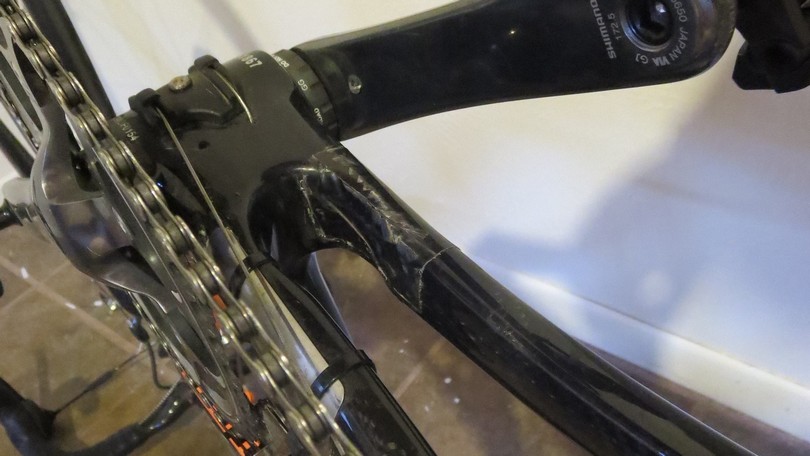
A seatstay repair on an Orbea road bike. This one came out very tidy.
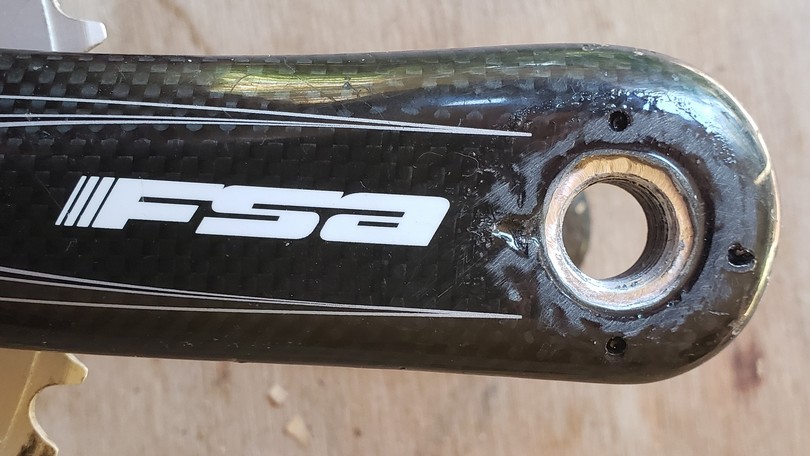
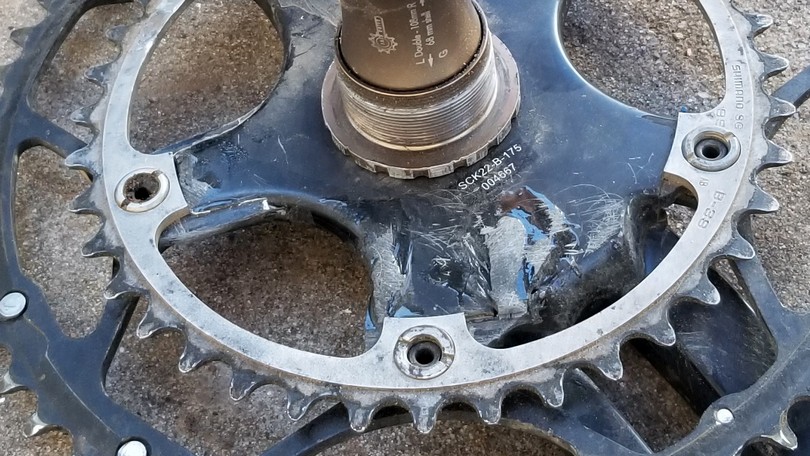
The aluminum insert had come loose from this carbon crank. We drilled four tiny holes, flooded the area with epoxy, then ground some of the epoxy back out with a Dremel. Last I heard it was still working.
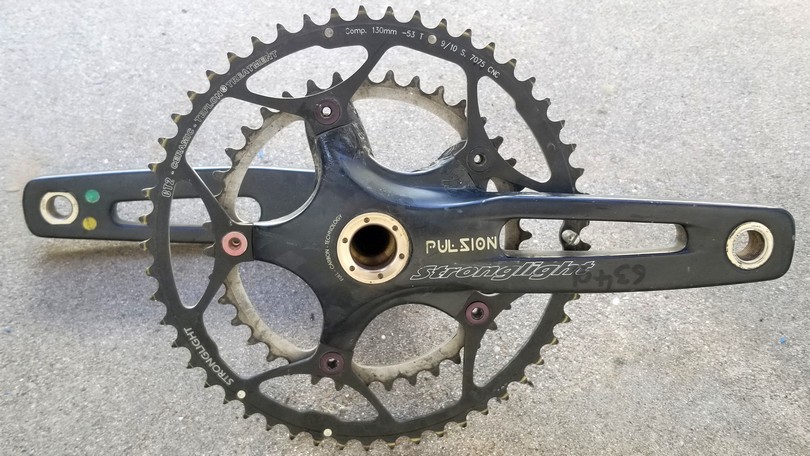
This Stronglight crank had a broken inner ring and two of the bolt holes were very mangled. I originally wanted to keep these for myself but the arms hit my ankles. I built the damaged area up considerably.
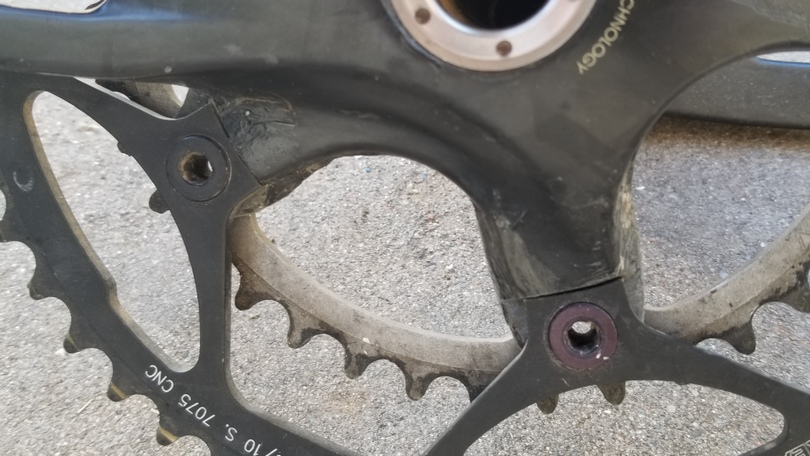
Detail view.
Detail view.
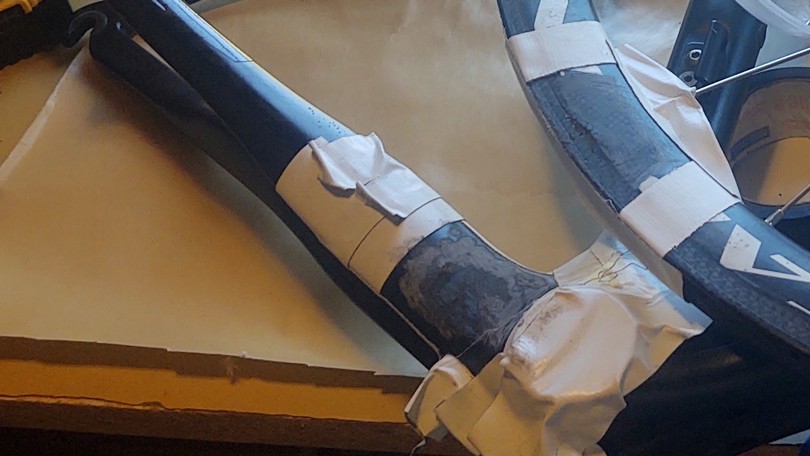
A Ritchey carbon rim and an unknown frame getting prepped for repair, masked off with Gorilla tape.
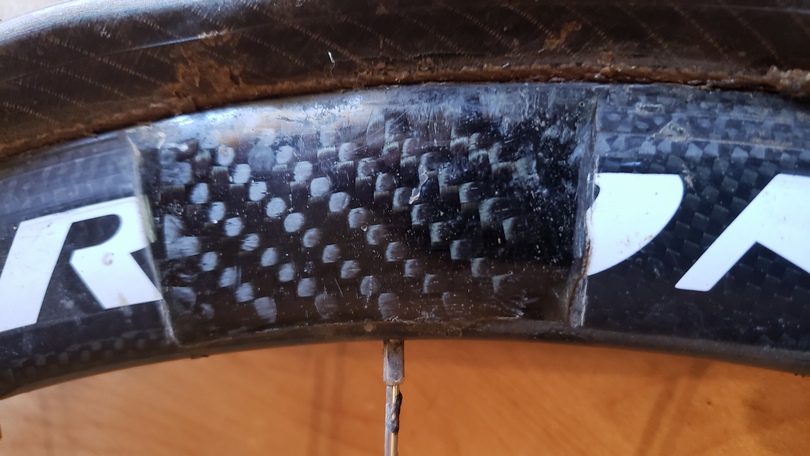
This is the rim repaired. There is a small transition bump on either side of the parch about the thickness of the Gorilla tape. I am still racing on the repaired rim.
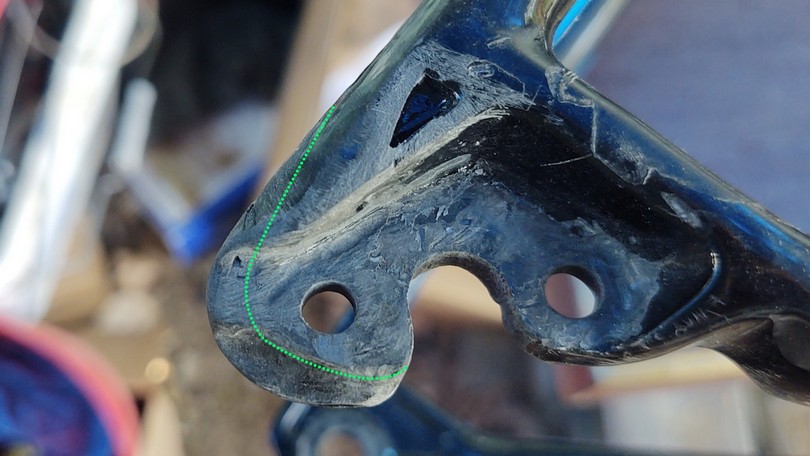
This was a dropout on a Scott road bike. It was pretty mangled and the derailleur hanger was badly bent. I built up the composite material larger than the original. The dotted line roughly represents the original part.
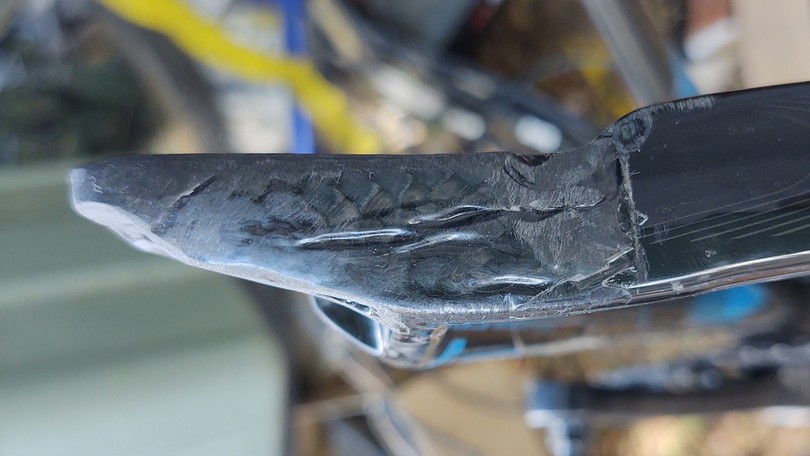
Bottom.
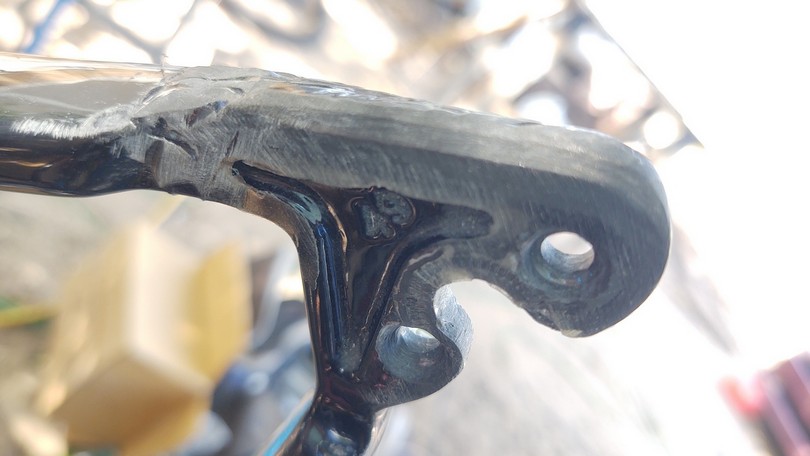
Outside
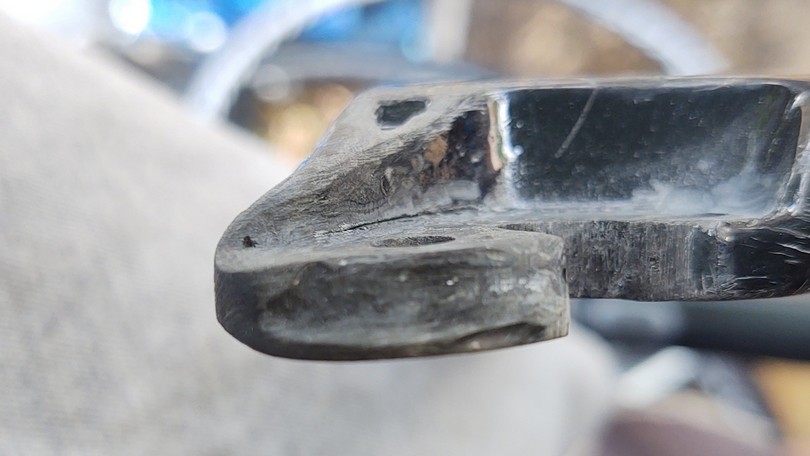
I also thickened the dropout overall. You can compare the thickness of the original part on the right VS the repaired part on the left. (The line above the dropout is not a fracture, but a deepish Dremel cut.) I basically recarved sections of the part by hand. It is not cosmetically perfect, but is it structurally sound and salvaged a very nice bike. With the bike built up you would have to be looking to notice the repair.
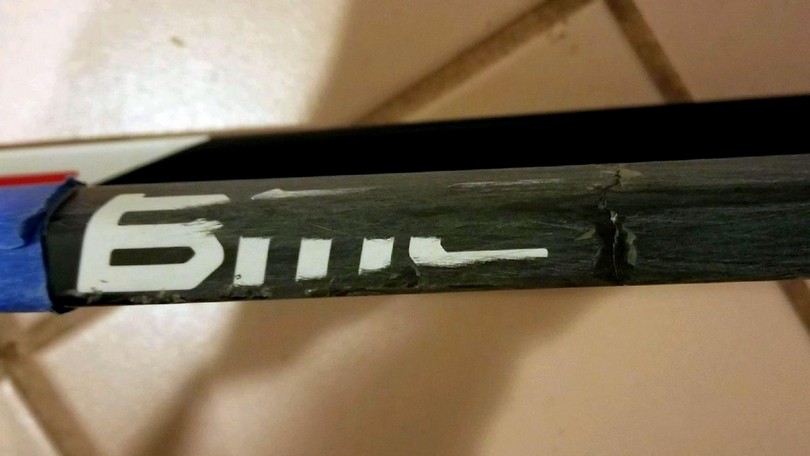
A MTB seatstay sanded and prepped for repair.
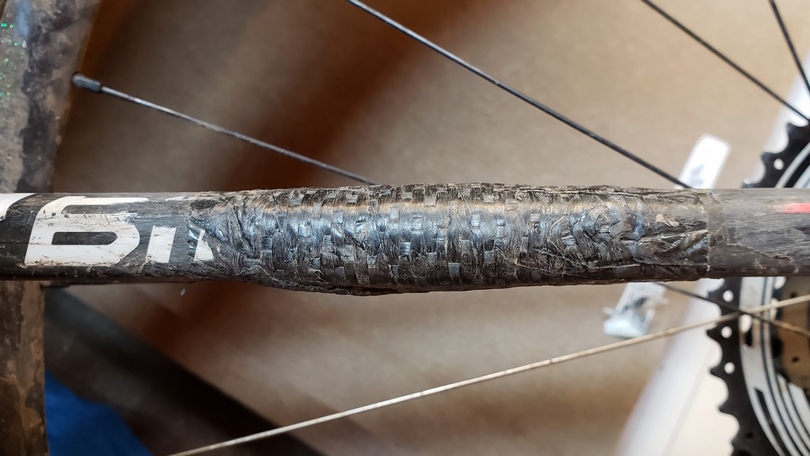
This is the seatstay repaired. This did not use a compression plate so the surface is not smooth, and has the texture of the carbon weave. I am still riding this bike, it was my main XC bike before I got my full suspension bike.
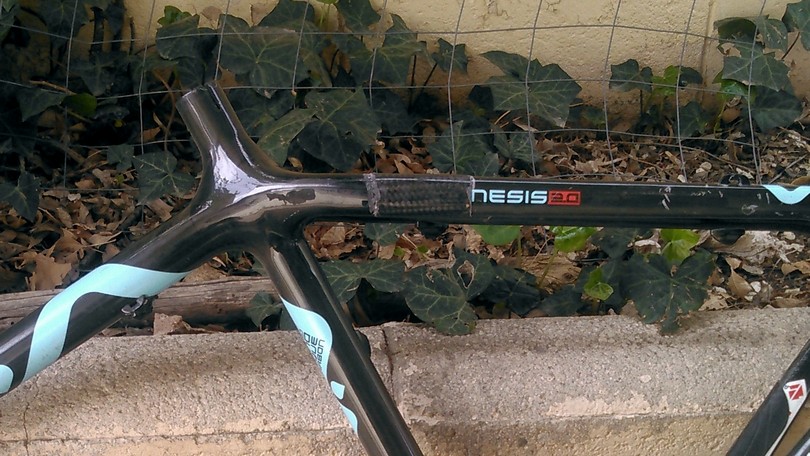
Fisher MTB seatstay repair.
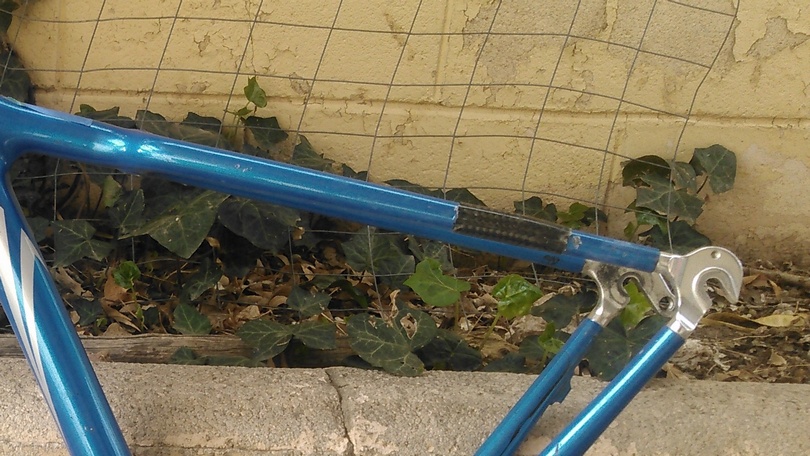
Seatstay repair on an older Trek OCLV road frame.
